How to Design a Play Therapy Room That Helps Kids Feel Safe
Imagine a child walking into their first therapy session. They’re nervous, uncertain, maybe even scared to talk. That first impression can decide whether they open up or shut down. Now imagine the same child stepping into a playroom filled with familiar objects, soft colors, and space to be themselves. That is where the healing begins.
That’s what a well-designed play therapy room does. It creates a space where children feel safe to express big feelings in little ways through toys, art, and movement. At Imagination Design Studios (IDS), we specialize in building the environments where that healing begins.
Let’s explore how the right space supports effective play therapy and how IDS helps create it.
Note: This guide focuses on fabrication & theming considerations for a play therapy room. Clinical decisions, electrical/AV, and base-building layout remain with your licensed teams. We build to therapy office and facility standards set by your partners. IDS does not provide clinical guidance or therapy programming; we design and fabricate themed environmental elements that support your care team’s goals.
LEARN MORE ABOUT
THEMED THERAPY SPACES
Why Children Notice the Space Before They Notice the Therapist
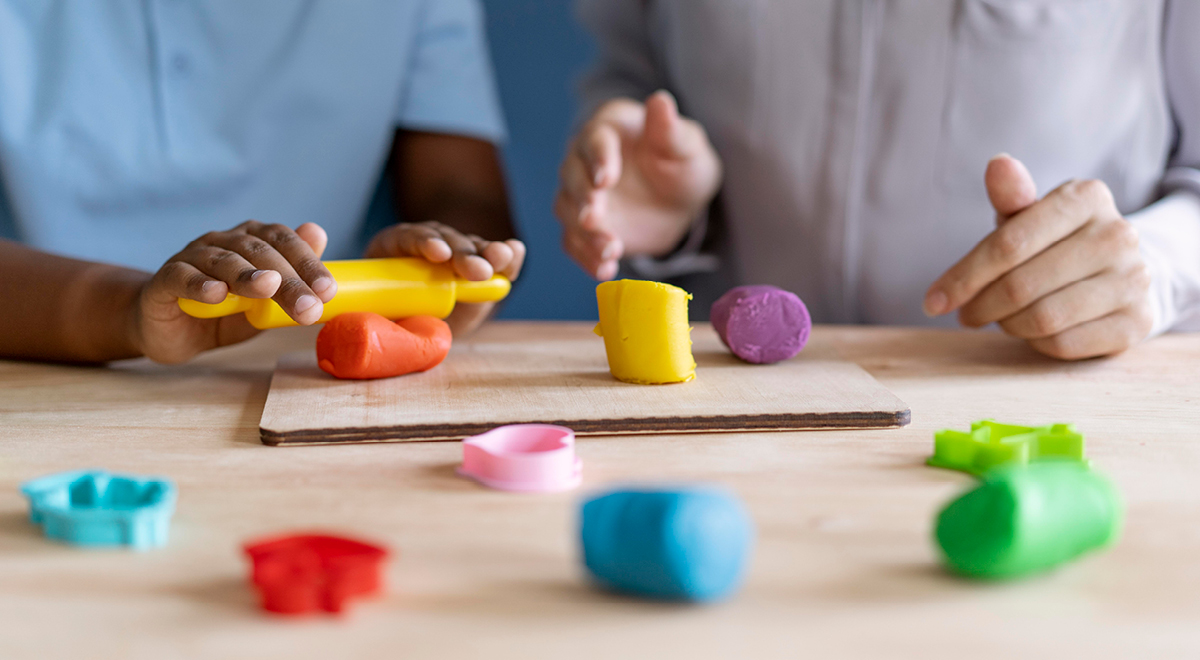
Children process the world through play. They don’t always have the words, but they do have symbols, movement, stories, and sounds. That’s why the therapy room must speak their language, especially during play therapy sessions.
But designing the right therapy playroom is more than just putting toys on a shelf. The space must:
- Be scaled for kids, not adults.
- Include calming colors and non-stimulating layouts.
- Offer enough space for movement, expression, and real-life toys.
- Allow play therapists to work without distraction or constant redirection
When these elements come together, kids regulate faster, trust builds quicker, and child-centered play therapy becomes more effective.
Making the Room Work for Parents Too
Parents read a therapy playroom in seconds. Clear sightlines, organized storage, kid-friendly color, and soft, even lighting build trust right away. A calm space with a curated mix of therapy tools (toys, puppets, and art materials) signals that this is a child-centred play therapy room that’s cared for and intentional.
Safety should be obvious without needing an explanation: rounded edges, anchored shelving and play features, slip-resistant flooring, covered outlets, and clutter-free pathways. Defined zones for messy play (like sand and art) help protect materials and keep the room easy to reset. Durable, professional finishes let the play therapist focus on the relationship, not the space, during therapy sessions.
Parents also feel reassured when they can stay connected without hovering. A thoughtfully placed chair or a discreet observation option supports involvement while keeping the room child-led. Small details like stroller parking, a place for personal items, and sound control show the environment was designed with parents in mind, too.
Phase 1 – Let’s Start with the Basics: Choosing the Right Location and Setting the Mood
1) Pick a quiet spot where kids can feel private and safe
Choose a room away from high-traffic corridors. We fabricate privacy elements like door cover graphics, themed interior window panel graphics, and sightline shields.
If observation is required, glazing or one-way mirror systems are supplied and installed by your GC or preferred vendor. We fabricate the themed surround and trim so the opening integrates cleanly with the room design.
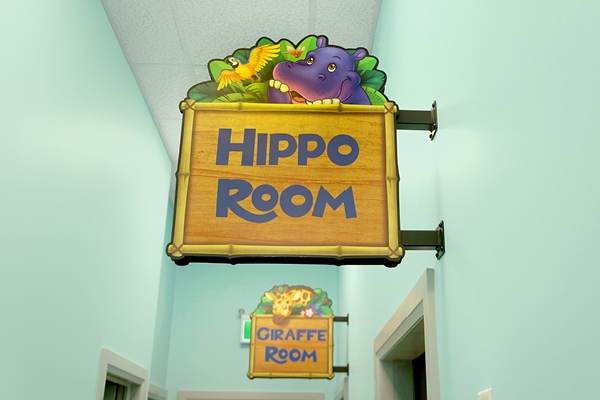
Clear, child-readable wayfinding helps families find the play therapy room without crowding reception.
2) Give them just the right amount of room to move and breathe
Many clients find ~120–200 sq ft comfortable for one child + one therapist. We scale built-ins so the room feels intimate, not cramped, and keep floor area open for movement. “Selected, not collected” storage avoids the over-collected look that can dysregulate sensitive children.
If a conference room must occasionally double as a therapy room, use mobile carts and a fast reset plan so the space stays consistent for the child. You need enough space for safe movement, but not so much that choices feel boundless.
3) Soften the noise so play feels gentle, not startling
Use sound-softening treatments (acoustic panels, ceiling baffles, and area rugs) specified and supplied by your acoustical consultant or GC team. IDS coordinates decorative housings, facades, and trim so these elements blend seamlessly into the theme.
For added privacy, consider a hallway white-noise machine to mask everyday chatter.
4) Choose floors and walls that welcome play and clean up fast
For wet or creative play, use seamless welded sheet vinyl or commercial LVP installed over a moisture-resistant substrate by your flooring contractor. Add a tight coved base to make mop-downs fast, and place removable drip trays near sand and water stations to catch the mess before it spreads.
In high-impact wall zones, we can fabricate HPL or laminated wainscot panels with soft radiused edges and flush hardware for durability and easy wipe-downs. Pair this with scrubbable paint on adjacent walls for a clean, cohesive finish.
To keep sessions flowing, add a simple reset diagram inside cabinet doors so every bin and material has a clear “home” after each visit.
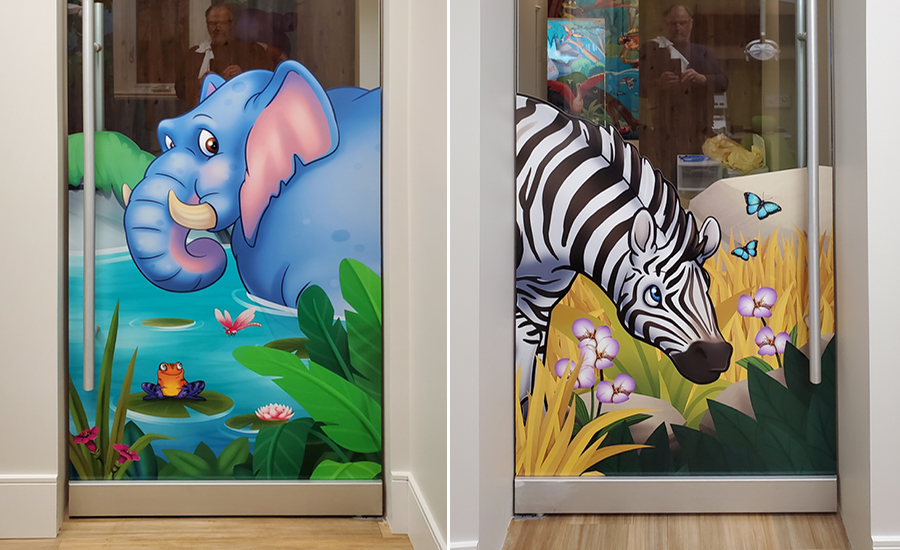
5) Wrap the room in colors and light that calm without boring
Keep the envelope gentle (soft off-whites, misty blues/greens) and bring the theme through one feature wall, one photo-op, and coordinated storage colors.
Avoid high-contrast bands at eye level. Where existing fluorescent lighting can’t be replaced, ask your lighting designer about lensing and dimmable, warm task lights. Calmer color supports regulation, so play therapy sessions start on the right foot.
Phase 2 – Now we bring everything down to kid-size
1. Use furniture that feels just right for little hands and feet.
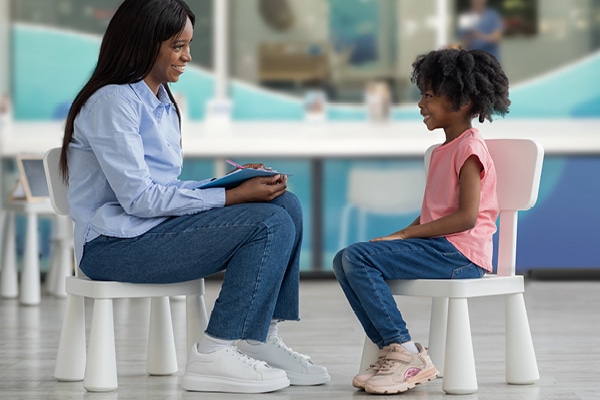
Use tables, benches, and counters at child-appropriate heights with rounded edges and durable solid-surface/HPL tops.
Quiet nooks like a storybook-style cubby or a soft, curtained alcove give children a safe retreat that feels like part of the adventure, not an escape.
2. Keep toys and tools in places kids can find them every time.
Combine closed cabinetry (visual calm) with labelled open cubbies for fast access to toys. Opaque bins with large icon labels reduce choice overload for children.
All tall units are anchored; lockable compartments protect sensitive toys.
3. Create zones where creative expression feels effortless.
Wall-mounted writable panels, pull-out sand-tray bays with lids, and magnetic display rails make cleanup fast between appointments. (Yes, sand play can be tidy with the right details.)
Phase 3 – This is where the toys begin to tell the story
Your clinicians select and approve all therapeutic materials. IDS supports the room environment by fabricating durable themed props and child-friendly storage systems, then organizing those storage zones so everything has a clear “home.” The categories below reflect common ways play therapy rooms are typically organized to support consistency and easy resets:
- Real-life & nurturing. Play kitchen, dishes, plastic foods, a toy phone, a simple cash register with play money, a dollhouse or doll house with diverse doll families, toy cars, and animals that reflect real-life scenes. (We can build neutral, non-branded characters to match your theme.)
- Puppets & characters. Hand/rod puppets, people and animals help kids express feelings they may not want to talk about directly. (They’re also simply fun.)
- Release and limits. If your policy allows, include a bop bag (we recommend two, one light and one heavier) and soft targets (you supply). IDS provides anchored, labelled storage and signage so play stays within agreed-upon limits.
- Creative expression. Art caddies with crayons, markers, watercolors, glue, construction paper, popsicle sticks, and clay; kinetic sand for tactile work; simple musical instruments to explore sound and music. Keep supplies in labelled bins and refresh regularly.
- Builders & manipulatives. Blocks, magnetic tiles, and straws/connectors are great for ideas and problem-solving play.
- Dress-up. Capes, hats, masks, scarves (generic, non-IP) that let children explore feelings, roles, and control in realistic scenarios.
- Sensory regulation. Fidget kits, therapy putty, textured balls, and soft throws (selected and supplied by clinical leadership); IDS provides storage and labelling.
Organization patterns that help: group by function (nurturing, expressive, building, sensory, release), label shelves with icons + words, and keep layouts consistent so children can find their words week to week. That predictable environment is especially helpful during play therapy transitions.
One-line rule of thumb: Play therapy tools should feel collected, not chaotic, “selected, not collected,” and always easy to reset for the next appointment.
Phase 4 – Keeping the Room Clean and Easy to Reset
Choose non-porous countertops, sealed edges, and stain-resistant finishes. Keep seams to a minimum. Details like lift-off fronts, open toe-kicks, and removable tray liners make wipe-downs and mop-downs faster.
Sand and water play? Yes, as long as it’s planned for. Use contained sensory bins with removable liners and easy-wipe surfaces around the station. That turns a big clean into a quick wipe.
Use reset diagrams and digital checklists to help keep rooms consistently clean and tidy.
Phase 5 – Designing for Shared or Flexible Spaces
For shared rooms or office space that flips during the day, mobile carts and color-coded bins keep categories intact.
For outreach, some teams pack a compact kit into a rolling suitcase with foam-cut compartments so the play therapist can set up a defined play space in minutes, even in a borrowed conference room.
Phase 6 – Behind the Scenes: Safety, Compliance, and Clear Roles
| Touchpoint | What we do (IDS) | Your team/partners |
| Themed Decor | We round edges and close gaps in themed decor to reduce pinch points. Then we fabricate and install with safety-first detailing so everything feels smooth, sturdy, and kid-friendly. | — |
| Codes | We fabricate to the approved project drawings/specs and coordinate with your architect/GC so our scope integrates cleanly. | Your architect/GC owns accessibility clearances, fire ratings, egress, and sprinkler clearances. |
| Electrical | We plan cut-outs, wire chases, and housings in our millwork so the installation is tidy. | Your licensed electrician/AV sets receptacles, low-voltage, switching, and dimming. |
| Observation/Recording | If observation is required, glazing/mirror is by your GC/vendor; we fabricate themed surround and trim to match the room. | Your AV contractor handles devices/cabling; you manage policy, consent, and any media storage. |
| Anchorage | Before construction, we provide wall-blocking requirements; on-site, we anchor pieces to ensure safety. | Your GC ensures that blocking is in place per the drawings. |
Phase 7 – The IDS Process From Plan to Installation
- Consultation & Intent
We review clinical goals, age ranges, themes, and operational constraints, then confirm partners and site rules. We’ll address timelines and budget up front. - Design Development
A “Scope of Work” mood board, concept sketches, and mural layouts focused on calm + clarity. We balance ideas with practical workflows for therapists, parents, and children. - Shop Drawings & Approvals
We document dimensions, anchorage points, floor and wall materials, penetrations, and finish schedules and coordinate with MEP/architectural drawings before fabrication. - Fabrication
In-house production of props, signage, and graphics. We pre-fit complex assemblies to minimize site time and protect your floor, walls, and ceilings. - Installation & Aftercare
Our in-house team installs, completes checklists lists, provides cleaning and care guides, and hands you hardware keys for game systems. That’s how a play therapy room stays beautiful, sturdy, and ready for the next story.
It’s not just kids; everyone wins with the right design
| Stakeholder | How They Benefit |
| Children | Feel safe, empowered to express feelings, build trust through play |
| Parents | Gain confidence in the therapeutic process; more likely to follow up |
| Therapists | Spend less time redirecting, more time building therapeutic relationships |
| Admins/Providers | Streamlined hygiene, faster turnover, and more engaging environments for families |
Simple Checklist to Make Sure Your Playroom is Ready
- Do we have a quiet location (away from traffic) and a clear plan for privacy and observation that aligns with policy?
- Are built-ins child-scaled with rounded edges, labelled storage, and anchored tall units?
- Is lighting warm and diffused (or existing fluorescent lighting properly softened)?
- Do we have designated zones for creative expression, release, sensory regulation, and story?
- Are materials easy-clean and supplies labelled so resets take minutes, not hours?
- Are the theme, colors, and wayfinding inviting without visual overwhelm?
- Does the space invite play therapy while respecting limits, safety, and compliance?
Turning Your Space Into a Therapeutic Asset
Every child deserves a space that feels safe, colorful, and welcoming. We’ll help you design and build it, down to the last detail.
Have an idea for your play therapy room? Let’s talk. Together we’ll design a space where children feel safe and supported.
IDS is North America’s leader in kid-focused themed environments. We have completed over 850 projects across dental practices, hospitals, schools, museums, aquariums, retail, indoor play venues, and more. If you’re planning a play therapy build, we’re ready with concepts, drawings, fabrication, and in-house install.
